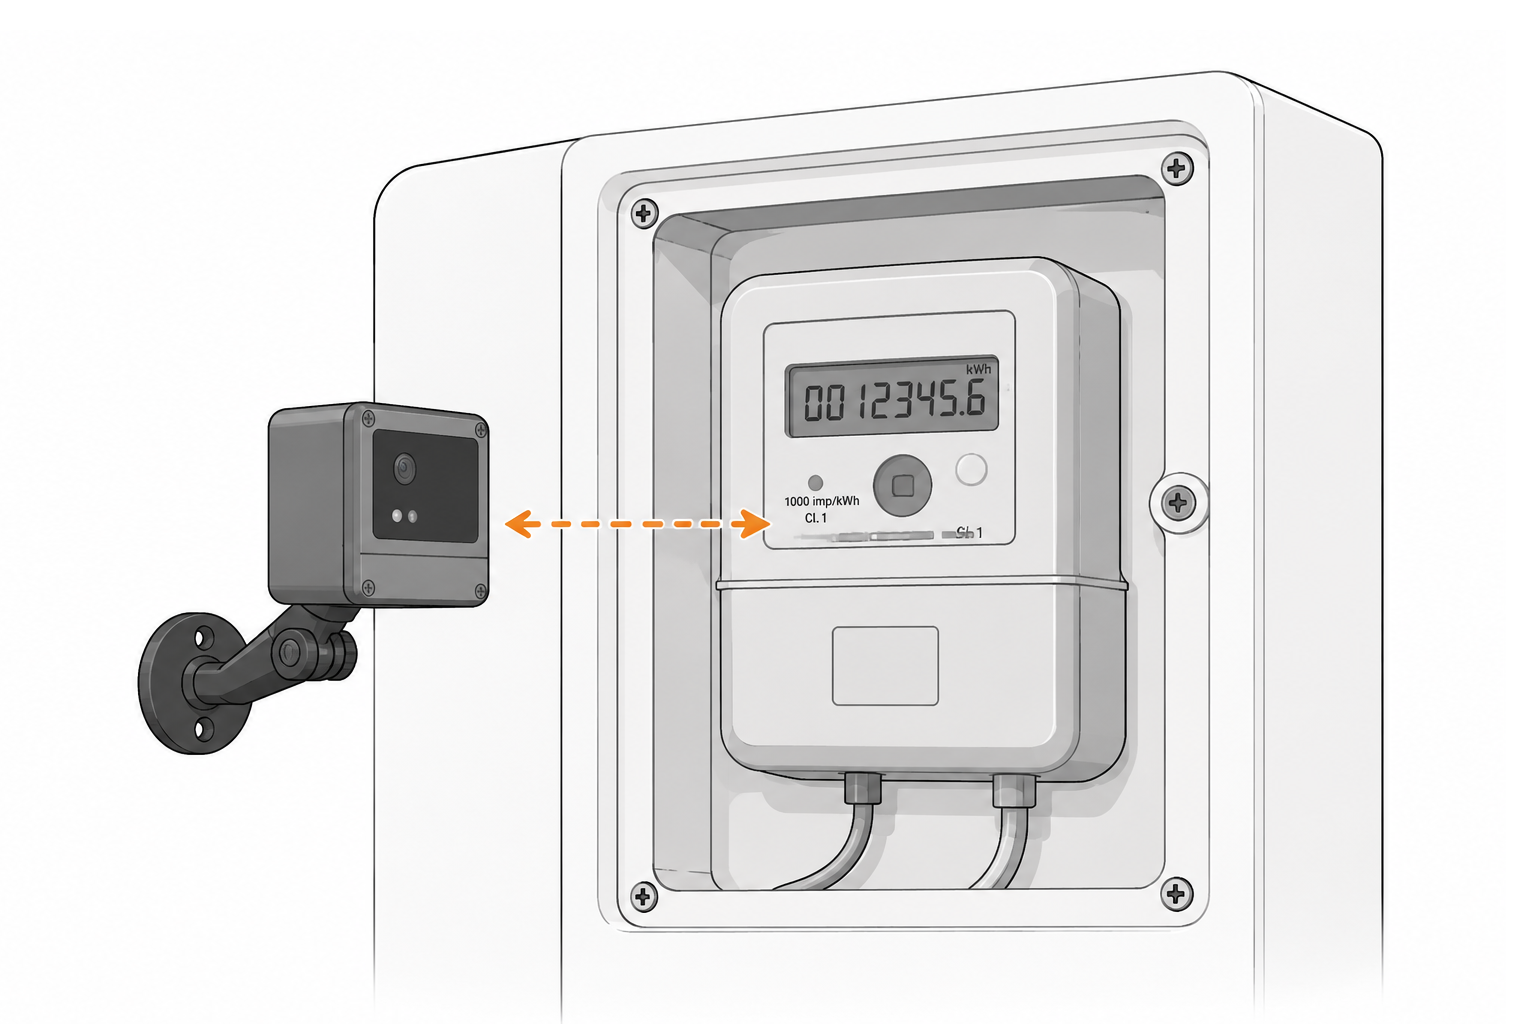
Position the camera
~1 minute
Go to the asset you want to monitor and position the camera approximately where you'd like it. You can fine-tune the angle later.

Estimated setup time: ~3 minutes
~1 minute
Go to the asset you want to monitor and position the camera approximately where you'd like it. You can fine-tune the angle later.
~15 seconds
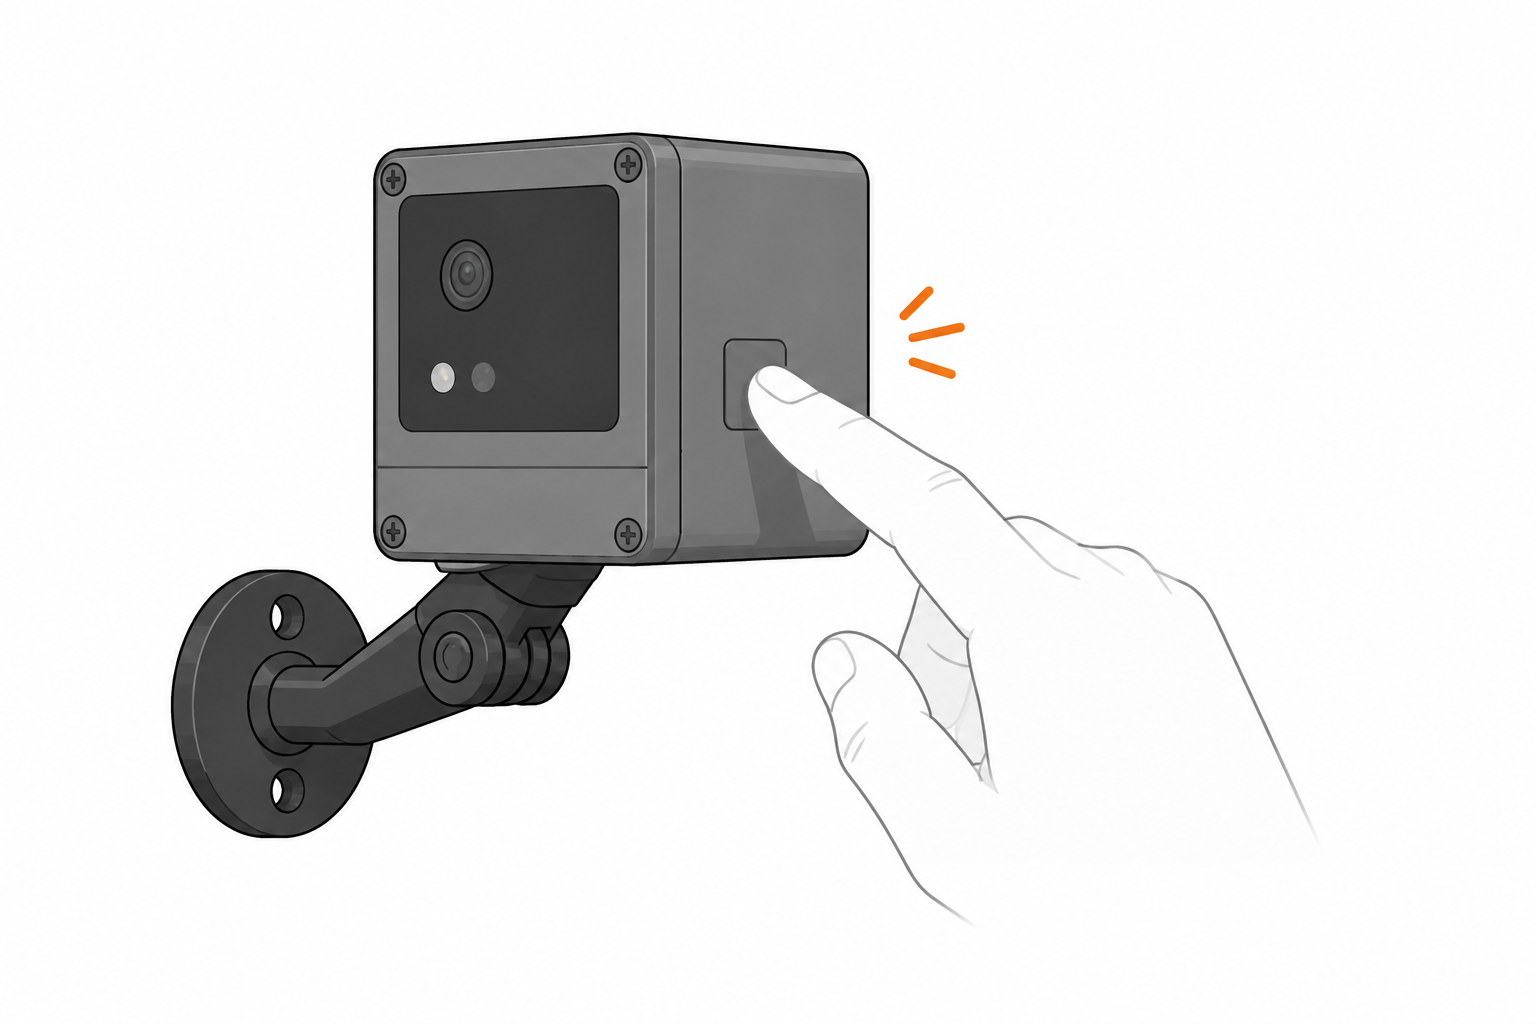
Press and hold the button on the camera for 3 seconds.
Hold for 3 seconds until the light turns on.
~30 seconds
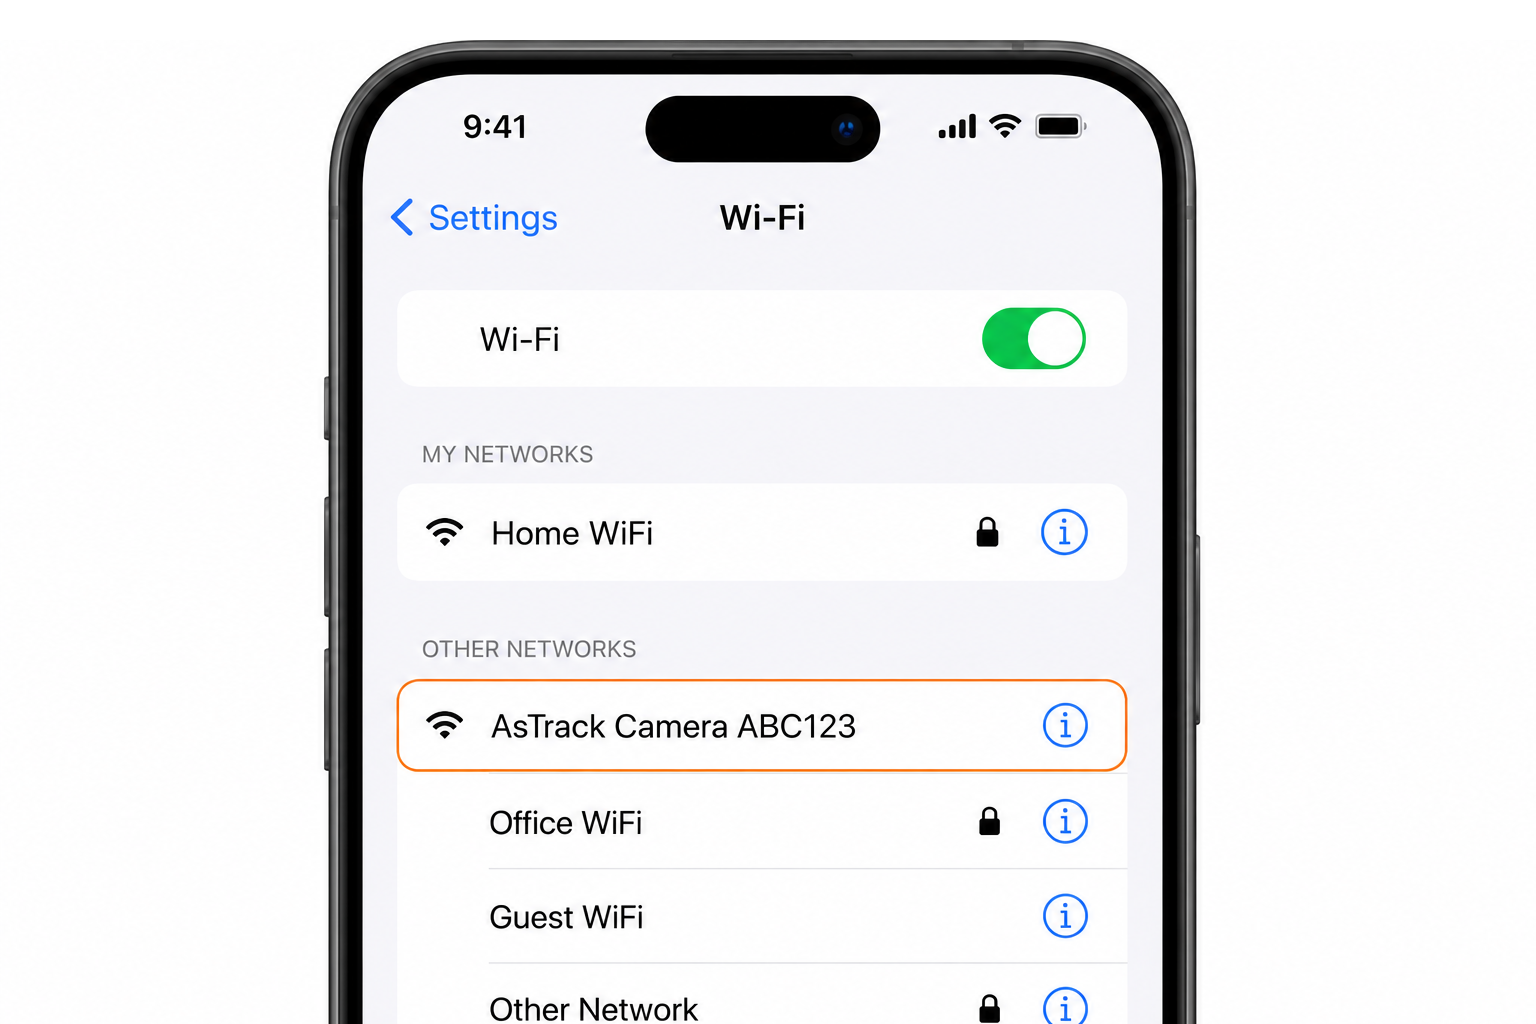
On your phone, go to Settings → WiFi. Connect to the network named AsTrack Camera XXXXXX. The last 6 characters are unique to your camera.
No password is needed.
~1 minute
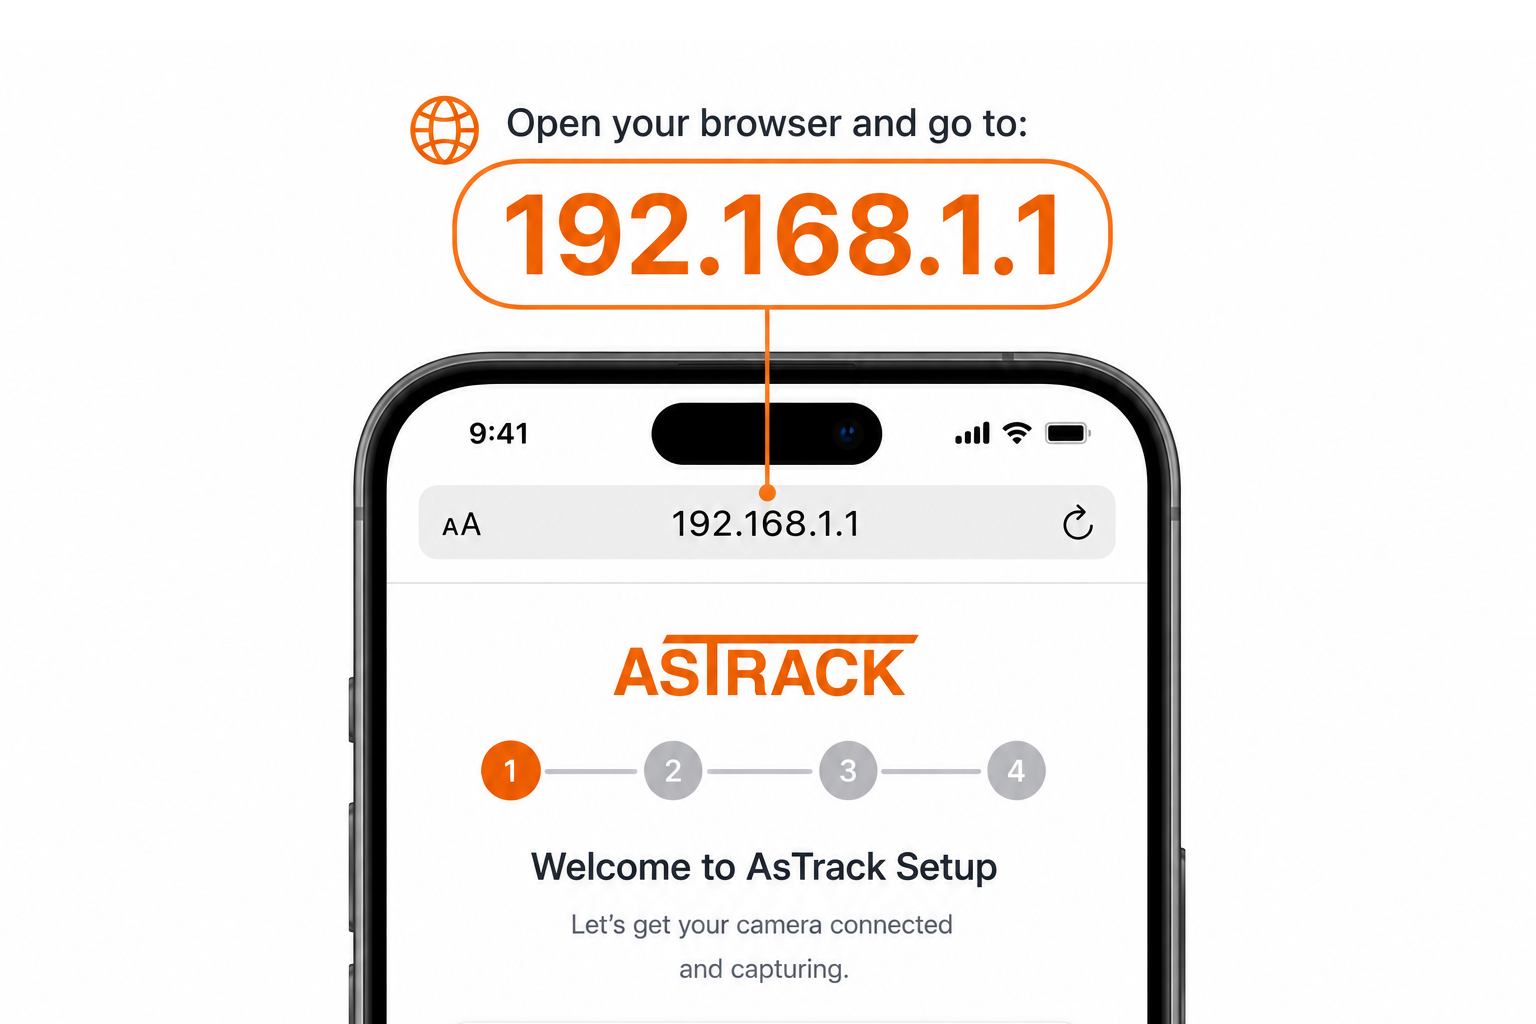
Open your browser and go to 192.168.1.1. The wizard will walk you through connecting to WiFi, naming the camera, and setting the capture frequency.
Once the camera is configured, it will automatically connect to your WiFi and begin capturing images on schedule. You can view images and manage your cameras at app.astrack.com.
Connects to WiFi
Captures images automatically
Uploads securely to AsTrack
View in your dashboard